
Enhancing Photographs in Paint.NET
How to enhance the colors in photographs in Paint.NET using curves and levels.

Edited: 2017-01-11 02:24
Knowing how to enhance the colors of a photograph can be very useful, often it allow you to give your photos a nice finishing touch, and other times it might save a photo with bad colors and/or light.
Enhancing a photo can be done trough using tools found in the Adjustments menu, typically you would use one of the following: levels, curves, Hue / Saturation and Brightness / Contract or any combination of the these.
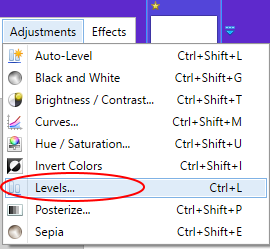
Using levels
In Paint.NET you can enhance a photograph by going to Adjustments->Levels, just as it is shown in the below screenshots:
From within the adjustments levels window, try moving with the sliders in a similar way as in the screenshot.
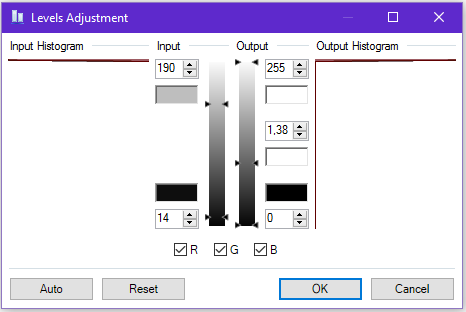
For color enhancements, you will normally leave all the RGB check boxes checked while moving the sliders.
When you have found a decent setting click the OK button to apply the level adjustment.
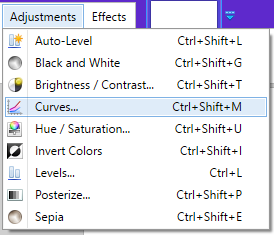
Using curves
The curves tool is also found in the Adjustments menu, and can be used either alone or in combination with other tools to create unique photo effects.
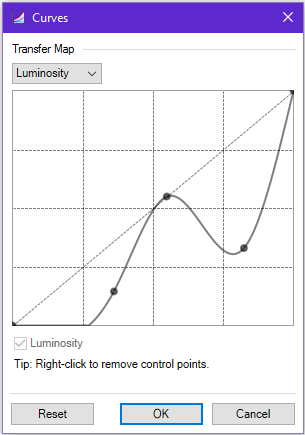
A common use of curves is to enhance the colors in photos. Points can be added onto the curve by clicking on it, these point can be then be moved to adjust the colors in the photo.
Tell us what you think: