Creating Rectangles and Circles in Gimp
Creating a rectangle or circle in Gimp is not done using a dedicated shape-tool, unlike in other programs. Instead we may use the selection tool to make a selection, and then fill it with a color, saving space in the UI.

Edited: 2018-01-27 19:47

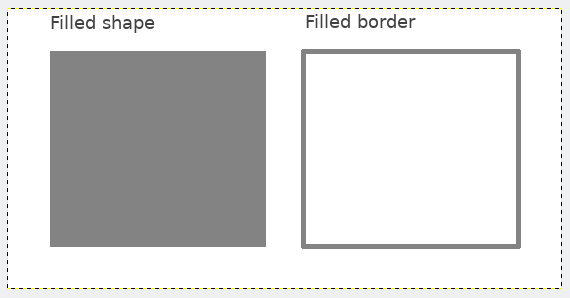
In Gimp, there is not dedicated tool to create shapes such as rectangles, triangles and circles. Instead, we can use the selection tools to first create a selection, and then turn the selection into a filled shape. It is also possible to only create a border around the selection, making the inside of the shape transparent.
Before you start, it is expected that you already have a new image opened, and it is also recommended that you create a new layer. This new layer will make it possible to create transparent shapes, or "border" around your selection. The size of the image depends on your own design goals.
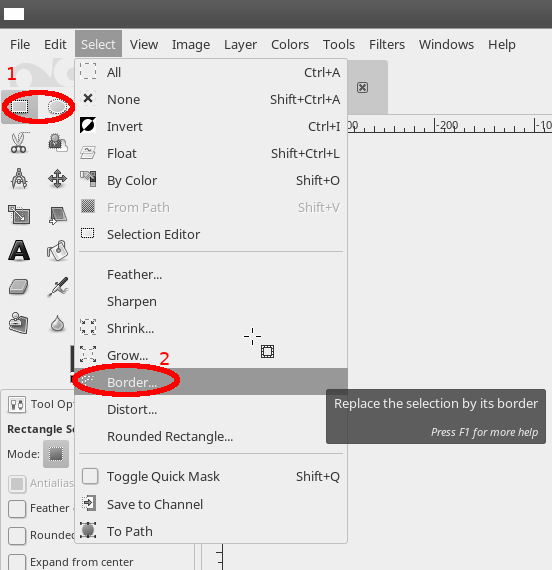
For those who do not need a detailed tutorial, everything you need to know is shown in the below screenshot.

The rest of you should follow the detailed instructions, or watch the video last in the tutorial.
Creating rectangles and circles in Gimp
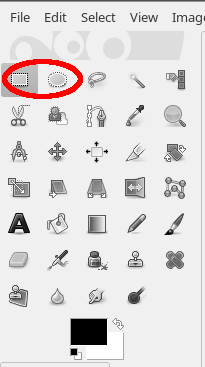
Now, to create the shape, you can start by choosing either the Rectangle or Ellipse selection tool (any tool should work):

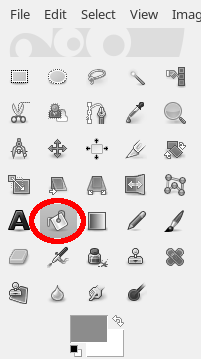
Use the tool to create a selection in the image, then either choose the Paint Bucket tool and fill the selection with a color, or click on the "select" menu and choose "border", adjust the border size until it matches your liking, and then fill the selected area using the Paint Bucket.
Select → Border


Tell us what you think: