Rotating Stuff in Paint.NET
Short tutorial showing how to rotate text, selections and layers in Paint.NET.

Edited: 2019-09-24 20:20

Paint.NET comes with the build-in capability to rotate layers and selections, which is very useful for a lot of things.
For example, you can create a text-logo or watermark using the text tool, and then rotate it slightly to give it a nice professional look. Such watermarks and logos could be used in online marketing material, or if you are a YouTuber, in the videos you create.
You would typically save your creations as PNG images, which can then be imported by video editors, and placed on top of your video.
Rotating layers
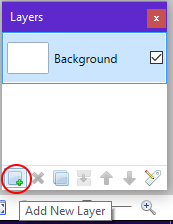
Rotating layers is very simple, but first you need to have something that you want to rotate, and for that purpose, assuming you have a new drawing open, we will first create a new layer by clicking on the new layer button.
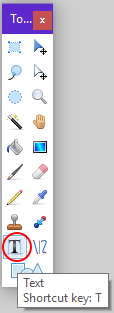
Then we will be using the Text tool (T) to write the text. After selecting the Text tool make sure that the new layer you created is actually active before you begin writing, then click somewhere in the layer end start writing your text. When you are done writing your text, hit the Escape key on your keyboard to exit writing mode.
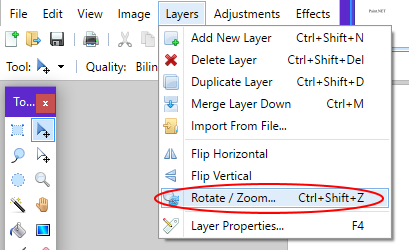
You can now rotate the layer from Layers->Rotate / Zoom, as shown in the below image:
Rotating selections
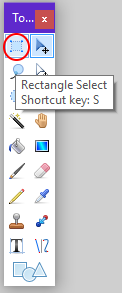
It is also possible to rotate selections, to see the affect you can make a new selection with one of the selection tools.
After making a selection, click on the Move tool:
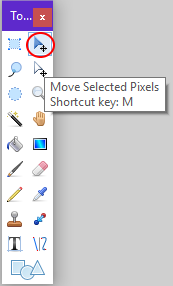
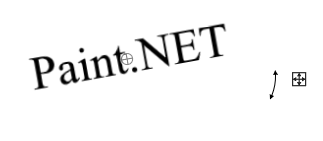
Carefully move the pointer close to the corner of the selection until a curved arrow appears, then click and hold the left mouse button while moving the mouse, this should rotate your text as seen in the below image:

Tell us what you think: