
Reflection Effect in Paint.NET
Hot to make beautiful reflections in Paint.NET.

Edited: 2017-01-11 02:23
A Reflection effect can be created in many ways, but one of the best ways in Paint.NET is to use a gradient inside a selection. This allows us to create a reflection that is independent of the background color.
In this tutorial we will show how to reflect text in Paint.NET, but the technique we are using can also be used to reflect other shapes. The steps are as follows:
- Create a new layer.
- Write the text in the new layer.
- Duplicate the new layer.
- Flip the copy of the layer vertically.
- Use the Magic Wand Tool with 0% tolerance to make a selection.
- Invert the selection to only select the reflected text.
- Remove unwanted areas of the selection using the Magic Wand Tool.
- Create a gradient with transparrent background inside the selection.
The result should look like:

Detailed explanation
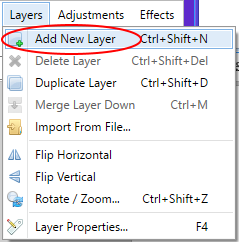
Create a new layer by clicking on Layers->Add New Layer, and then write your text using the text tool, as seen in the screenshots:

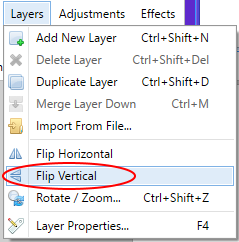
After writing the text, go to the layers menu and click on Flip Vertical:
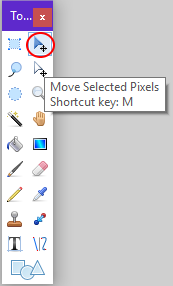
Now, move the text using the Move tool. First click on the Move tool, then use the Up arrow key on the keyboard to carefully move the reflection upwards until it touches the text.

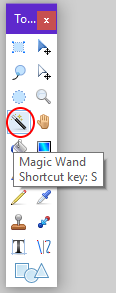
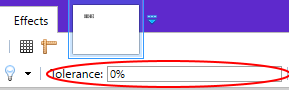
Select the magic wand tool from the tools window, and turn the tolerance all the way down to 0%.
Then click in empty area of the reflection layer. This will select everything except for the reflection.
After doing this, go to Edit->Invert Selection to only select the reflected text. The result should look like:

As a final touch, depending on the nature of your selection, you may also need to subtract some areas from your selection, such as that located in the red circle in the above image. To subtract unwanted parts of a selection using the magic wand tool, hold down the Alt button on the keyboard while clicking on the areas you want to subtract. The result should look like:

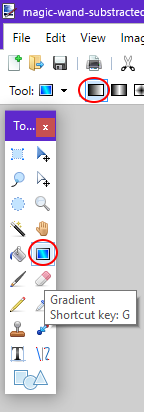
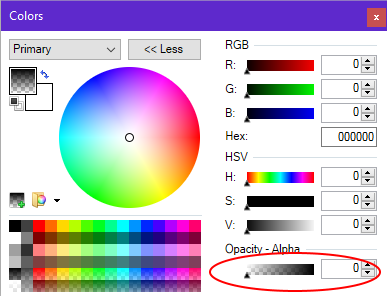
Select the gradient tool, and change the background color to transparrent by moving the Opacity - Alpha slider inside Colors, as shown in the below screenshots:
Then use the gradient tool to create a gradient inside the selection. Carefully adjust it until you got the desired effect. The finished result should look like:
You can hold down shift to enable snapping while making the gradient, this should achieve a more precise result.
If you remove the white background layer before saving your image, your reflection effect will become transparrent, allowing you to use the resulting image independently of the background color.
Tell us what you think:
No cost promotion for your website here: http://bit.ly/free--ad--posting