Installing plugins in Paint.NET
Installing plugins in Paint.NET can usually be done by moving the dll files to the Effects folder.

Edited: 2017-01-11 02:22
One of the great things about Paint.NET is the many plugins that are available, though it may still be preferred that at least some of the features that the plugins provide, will at some point be integrated in Paint.NET.
Plugins are often distributed in zip files as dll files. When the plugin files are extracted you usually move them to the Effects folder of Paint.NET, which is often located at:
C:\Program Files\paint.net\Effects
You can find the plugins at the official Paint.NET forums: Plugins - Publishing ONLY!
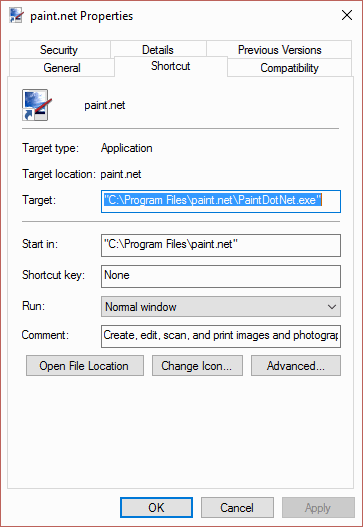
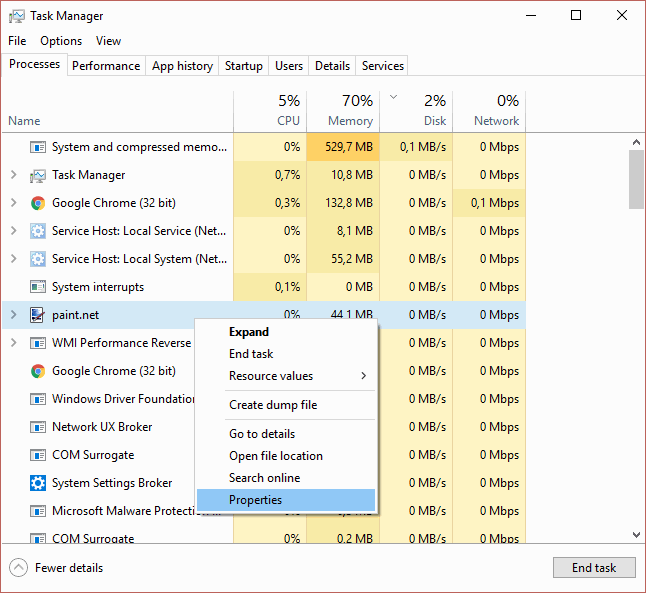
After having downloaded a plugin you will usually need to extract it, this can either be done using the build-in tool in Windows or a free program such as 7-zip. The files you extract should be moved to the effects folder of the Paint.NET installation directory. This is usually located at: After having moved the .dll files to the required folders you might need to restart Paint.NET. The plugins will usually be available in one of the menus. Some plugins might follow a different installation procedure, but assuming all we need to do is to move the dll to the Effects folder, follow the below steps: After completing the above steps, the plugin should have been installed. But note that some plugins might require a different approach, so always read the instructions that came with the plugin. Sometimes Paint.NET may have installed in a non-default location. To find the installation folder you can right-click the shortcut of Paint.NET, click on properties, and then read the location from the target line. I.e.: Another option is to run Paint.NET, then open Task Manager (CTRL + ALT + DELETE) and then view the Properties of Paint.NET's program file by right-clicking on it, and choosing properties.Installing plugins
C:\Program Files\paint.net\Effects
Finding out your Paint.NET installation folder


Video

Tell us what you think: